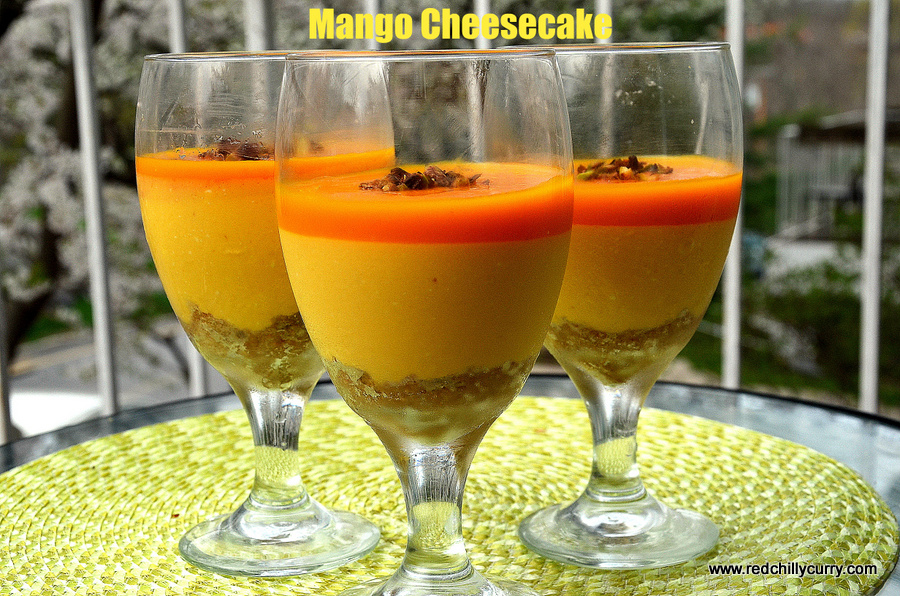
Mango Cheesecake(No Bake)
Another stunning recipe from our Baking Group Challenge. I always look forward to their recipes they make me learn many stuff and I have been having this mango cheesecake in my check list for quite sometime and I finally got to make it. The taste was really good, not heavy or creamy but very smooth and tasty. It takes very less time to make it. The only procedure we need to follow is let the layers set correctly in the refrigerator. Its a perfect dessert for making a day ahead for your parties/guests. You can make it like a proper cake but I love it in a small cup so I made it according to my taste preference. Just increase the measurement and make it in a 8 Inch pan to get a proper cake shape.
- Prep Time : 15 minutes
- Cook Time : 2-3 hrs minutes
- Yield : 4-5 person
Ingredients
- Digestive biscuit(use graham for best result,I didnt have it so I used parle-G,use marie biscuit too if you have it) - 1/2 cup
- Unsalted Butter - 1/4 cup
- For Filling:
- Cream cheese(soft) - 1/2 cup
- Curd/Yogurt - 1/2 cup
- Mango Puree(I used tin,Alphonsa) - 1/2 cup
- Vanilla Essence - 1/2 tsp
- Agar agar/Chinna grass - 15 gm
- Water - 1/4 cup
- For Mango Glaze:
- Mnago puree - 1/2 cup
- Lemon juice - 1 tsp
Instructions
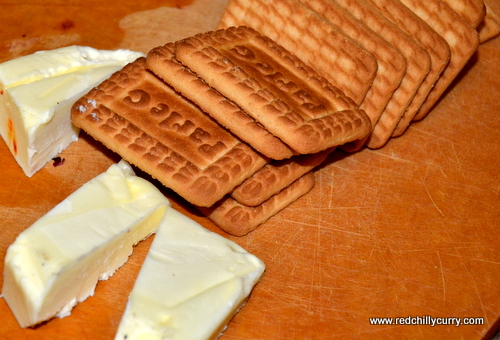
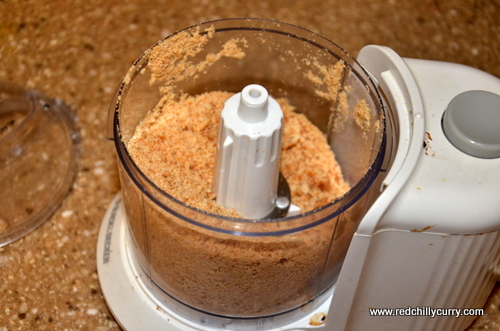
1. Powder the parle G in a blender or in a zip lock bag and then add butter to it. Blend it again or crush it along with biscuit in a zip lock bag.
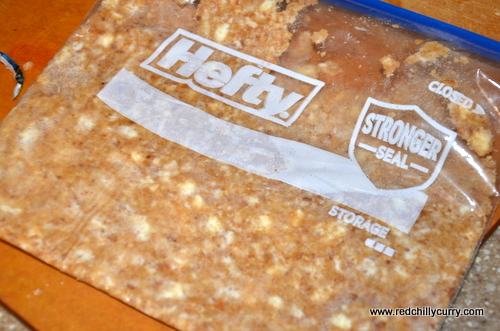
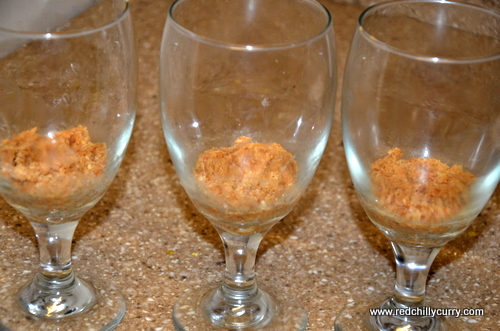
2. Now take a 8 inch pan and spread the biscuit spread as a first layer or you can layer it as I have done for easy serving dessert. I have placed it in a long glass and pressed it well. Now refrigerate it for 30 mins. Meanwhile lets prepare the second layer.
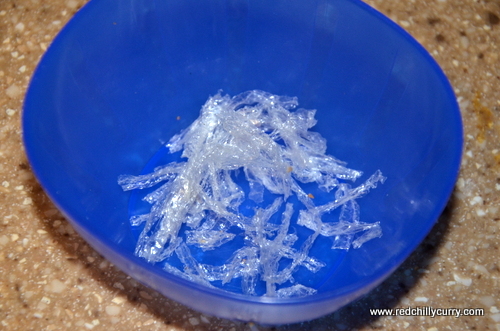
3. This is agar-agar(phew I had a very hard time finding this you will get it in Indian store or you can ask for china grass both are vegetarian sea weed used for setting desserts) People who eat non veg can go with un flavored gelatin. I wanted to use vegetarian gelatin so I used agar-agar. Click this to know more.
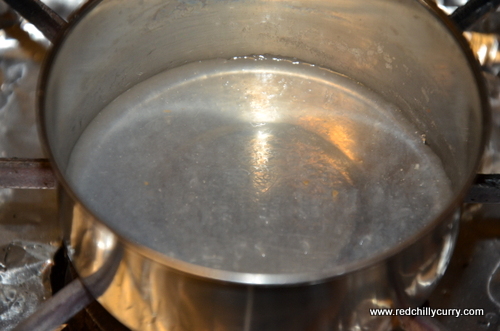
4. In a pan boil some water and soak this agar agar in it. Let it boil and completely dissolve in the water. It will get thicken then remove from fire and same time heat the mango puree in bowl too. If you are using fresh mangoes peel the skin and blend them pulp in a blender and boil it with sugar in a bowl/pan. Since I used Alphonso tin mango puree I skipped this step. It already has sweetness inside it so I directly used the tin.
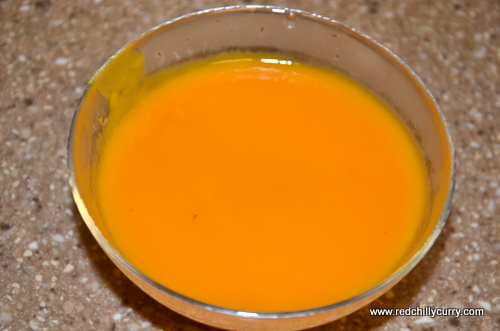
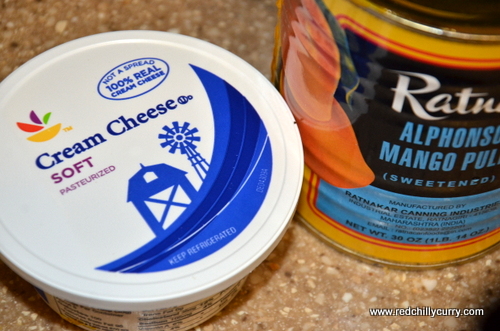
5. Remember both mango puree and agar agar must be hot to mix. Then mix both together. To this in a separate bowl mix yogurt(I let the yogurt stay over night in a muslin cloth and let the water get filtered and then collected the hung curd and kept it separate)now mix this and cream cheese together and stir well with your whisker.
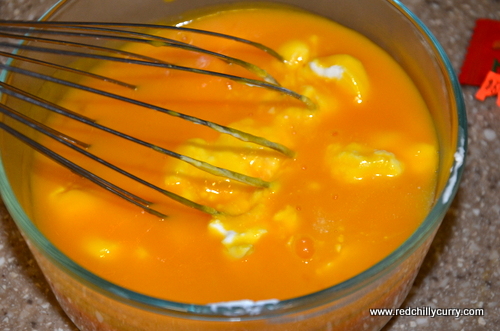
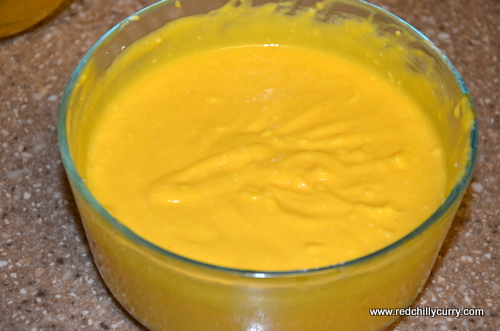
6. To this add vanilla essence and the mango mix with agar agar and whisk it well again. Now let this sit as a second layer on the biscuit. Freeze it again in the refrigerator at least for 2 hrs and see if they set well.
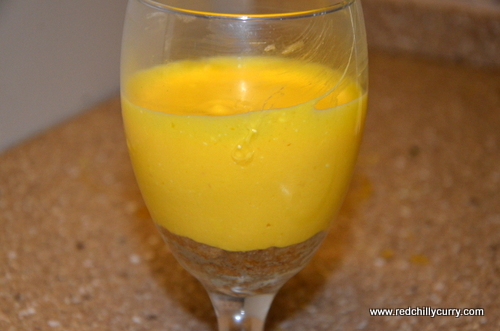
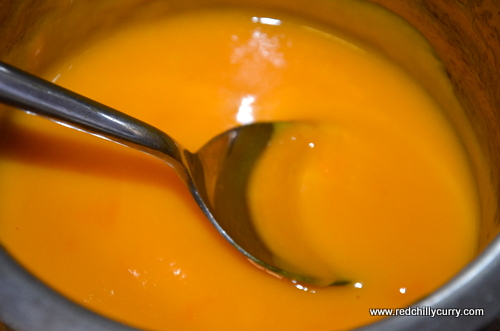
7. Now in a pan add the remaining mango puree or the freshly prepared mango puree and let it boil. If you are using fresh mango pulp add sugar too if using tin avoid it. To this add lemon juice and for 4-5 mins,let it get thicken and remove from fire. Let it cool completely now add as a 3 rd layer and freeze for an hr. The dessert is ready. Its very easy to make and can be done a day ahead.

Notes:
1. You can make the filling with Paneer and cream cheese or with just cream cheese and fresh cream.
2. It can be made with just plain cream cheese or condensed milk too.
3. Use the agar-agar/china grass according to the measurement given.
4. If you use it less it wont get set correctly so used accordingly.


Beautifully made cheese cake.. Looks yum!!
Delectable cheese cake. Serving in a glass was awesome idea.
Looks yummy n tempting:)shalli grab those glasses.haha